Showing posts with label DIY. Show all posts

Tuesday, August 13, 2013

Restaurant Review - Burgermine


Burgermine, named People's Favorite Burger, is one unique burger spot located in the Itaewon Haebangchon area that allows for customers to get a DIY burger. This all you can eat option is where you can pick your own unilimited topping of anything and everything after given the patties for your burger. It is a popular option for many because the amount you can consume. This DIY Burger option is just $15 with fries and beverages.
For others who are not looking to down so much, Burgermine makes their own burgers with a variety of combinations. The burgers are rather plain in taste, nothing that special which is reflected in the photo. They offer two salad options which is the garden (a huge plate of veggies topped with bacon bits and a balsamic vinegar dressing) and a chicken caesar salad. There is also the option of other sides which include the mouthwatering Chili Cheese Fries which is not exactly that.
It was a huge disappointment for the simple reason that deep fried fries were topped with sliced cheese and thrown into a microwave. The chilli on top was just not appealing to taste with a bland, can taste. Personally, it is not a recommendation unless you are going for the all you can eat option.
Burgermine is a pretty chill place to go with graffiti on the walls and a dimmed lighting environment. It wouldn't be the best place to take a date, but hanging out with friends is on the list, especially if you are all the type with a big stomach! 
Address:Seoul, Yongsan-gu, Yongsan-dong-2-ga 45-9
용산구 용산동 2가 4-9
Phone: 070-8263-2034
Directions: From the Noksapyeong station on line 6 of the brown, take exit 2 and go straight to the light. Take the hill up on your left and go straight. Go all the way up and after a long 5 minute walk, you will see an international market on your left. Past the market, you will see Burgermine on your right.


Thursday, July 12, 2012

DIY - Hairspray

I am big on DIY items, especially those that are less damaging for the body. Hairspray is full of chemicals and such, therefore I finally decided to blog about the DIY hairspray. Simply use a misting spray bottle that you have sitting around. Boil 1/2 cup of water and when bubbly, add a minimum of 2 teaspoons of sugar. For those who wish to have a stronger hold, go for a tablespoon of sugar. This hairspray will last for a week. If you wish to double the shelf life, you can add a bit of alcohol and it will last for two weeks. 

After the sugar has fully dissolved, pour into the spray bottle and store it into the fridge for 20 minutes or so. When spraying, be sure to spray in thin layers because it is not your typical hairspray. You can maximize the hold by spraying more layers after waiting for the previous to dry. 

Wednesday, February 22, 2012

Food Goods - Strawberry

Recently, I've hopped on Beach Body Insanity and started a new diet which includes a great amount of strawberry. Being in Korea, strawberries are extremely fresh and a lot sweeter than those in America. Although it is a lot more expensive than those back in America, the taste definitely overrides the price. In addition to the great test, the variety of beauty uses for strawberries support why strawberries are my favorite fruit!

For starters, strawberries have an extremely high concentration of Vitamin C which helps to also act as a carbohydrate, protein and even fat. With just one cup of strawberries, you are receiving a great amount of vitamins, water, and even your daily fiber. In regards to skin, strawberries are a great anti oxidant which helps to clean your body from waste. It also helps to boost the immune system and help your skin glow. Therefore, it should be incorporated in your daily diet, even with these few simple ways to help your skin.
  • Smooth skin in just a few minutes! There are two ways to do this, one is to cut a strawberry in half and rub it all over your face, just the same as you would with a kiwi. Another is to mash it up and scrub in circular motions all over your face and let it sit for a few minutes. This quick strawberry scrub will leave your  glowing after rubbing off those dead skin cells. 
  • Acne remedy with 1/2 of sliced strawberries and 1 tablespoon of sour cream. Mash, combine and apply on the face for 10 minutes. Rinse and repeat every few days. 
  • Reduce puffy eyes by placing a few slices of strawberry under your eyes for 10 minutes and relax in bed, just that easy. Remember to moisturize after!
  • Pedicure scrub with just a handful of strawberries, 2 tablespoons of olive oil and 1 teaspoon of kosher salt to give that scrub texture. Simply mix all the ingredients in a bowl, massage into the feet and rinse. 
  • Hair shine can be achieved with just a handful of strawberries and a tablespoon of mayonnaise. Sounds disgusting almost to put mayonnaise in your hair, but it acts as a hydrating oil just like extra virgin olive oil. Mash to combine, apply into damp hair so that it glides easily, cover with a shower cap and warm towel. Rinse after a minimum of ten minutes and you will see a healthy head of shine. Remember to wash your hair as your normally would!
  • Tooth whitener like the lemon, but all you have to do is mash up some strawberry and brush away. Your new toothpaste will even taste delicious! 

Wednesday, December 28, 2011

Food Goods - Lemon

We all know lemon is great for beauty fanatics. It not only helps to slim down weight, but it also helps to promote a healthy body. There are many things that you can do with the handy lemon which calls for you to stock up in your fridge. Lemon is great for Vitamin C intake so if you're low on oranges, swap it for a lemon.
  • Daily early morning drink. Mix cold water, honey, and lemon cleanse the body when you wake up. Be sure to drink this on an empty stomach. You can use warm water if you want, but it is not recommended because the heat kills many benefits of lemon and honey. For those who can endure water and lemon directly, it will help you to efficiently detox and lose weight. A whole lemon mixed with a  cup of water is suggested for those who are over 150 pounds and unhealthy, half of a lemon for those who are 150 pounds and healthy. 
  • Teeth Whitening. This is by far my favorite and most recommended for both men and women. Simply squeeze the fresh juice from half of a lemon, rub with table salt and baking soda along the teeth. Baking soda is known to help whiten teeth, but lemon gives it that extra boost.
  • Smooth skin. For a simple mask, mash an over-ripe banana with fresh lemon juice and apply to the face and hands for clear and smooth skin. There is also the less messy alternative of a teaspoon of honey, a teaspoon of olive oil, and quarter teaspoon of lemon juice for the hands, elbows, heels and drier areas. I suggest covering up the area for ten minutes with a plastic bag or old pieces of clothing and wash away to reveal beatified skin. 
  • Dark spots. There are many areas that women are insecure with when it comes to the body which include underarms, elbows, and dark spots on the face. Simply rub fresh lemon juice on the area for ten minutes and wash away. Over time, the color will gradually lighten. 
  • Dandruff treatment. Mix a few tablespoons of fresh lemon with olive oil and rub it into the scalp. I suggest using a shower cap to soak in the treatment for 15 minutes and follow the regular shampoo and conditioner. 
  • Itchy scalp. Mix an egg white and lemon juice, massage into the scalp of your head and soak in the treatment with a shower cap for an hour. Follow with your regular hair wash routine. I suggest to practice this twice a week for a month.
  • For those with psoriasis, lemon juice also helps to strengthen the liver enzymes because the liver can make more enzymes from fresh lemon juice than any other food element. Therefore, having half a lemon to a whole lemon a day (depending on your health) will help to clear up your psoriasis. 
  • Yellow nails. If you're like me and use nail polish just about daily, the winter colors are probably not so healthy for your nails. Dark colors may turn your nails yellow. Simply brush your nails with lemon juice and baking soda. This will help to lighten the color, not fully revive your natural born color.
Its amazing how the many foods found around the house can help in daily grooming and beauty care. The best thing is the DIY items save a ton of money which adds up when it comes to beauty products. Good luck!

Tuesday, November 22, 2011

DIY – Lip Gloss

Sometimes you are just not able to find the right color lip color you want in store. In addition, lip colors that look good on a friend of yours may not look the same on yours due to your natural lip color. The best and cheapest way to find a lip color that compliments your style is to make it yourself. It’s ridiculously simple!

All you need is Vaseline or some kind of lip balm you can mix an eye shadow color with. I suggest first scraping eye shadow color in a small jar or a contact solution case that is small and portable (just be sure to clean it well prior to use) and mix in the Vaseline. Add as much color as you like to find your perfect lip gloss. 

Saturday, November 5, 2011

DIY - Brush Cleaner


I cannot stress the importance of cleaning makeup brushes. I know so many people who do not bother cleaning their brushes, let alone shampoo them. By not cleaning your brushes, you are increasing the chance of an infection and even be the factor of you losing a very useful brush. The most important brush, which I know many people do not clean is the eyeliner brush. Because it comes with may drugstore brands, I know a lot of people who do not think it is important to wipe off the gel that is left behind. The eyes are the most sensitive part of the face and any risk of an infection will be problematic, so I definitely recommend washing your eyeliner brush daily.

You don’t have to go out of your way to buy brush cleaners, because I know we’re all on a budget and brush cleaners can be expensive, especially if you’re using it everyday. There’s always a few household items that can be used in place of on the market brush cleaners. Just mix and save your money.

For most of these solutions you can eyeball it. After making your mix, I suggest pouring it on a plate for an easy back and forth swift to clean your brushes. There are a few DIY brush cleaners which include:

  • One Cup of water with 2 tablespoons of rubbing alcohol and 1 tablespoon of baby shampoo. Baby shampoo is gentle for the bristles while rubbing alcohol helps to kill the germs left over. You can even skip the rubbing alcohol if you are not a fan of the smell and just use baby shampoo and warm water.
  • Half cup of warm water with ¼ cup of vinegar. Vinegar helps to kill bacteria that is left behind on the brush.
  • One cup of warm water with 1 tablespoon of liquid dish detergent. My ultimate favorite DIY makeup remover is using anti-bacterial dishwashing soap and EVOO which will disinfect and clean your brushes. EVOO helps soften your bristles which is great for long brush use, another great use for olive oil

Wednesday, October 26, 2011

DIY - Oscar Blandi Pronto Colore Root Touch-Up & Highlighting Pen

A new product on the market that is safe enough for pregnant women is a plus on my books. The Oscar Blandi Pronto Colore Root Touch-Up & Highlighting Pen is a great DIY at home to touch up roots that are always a no no and to provide highlights. It is a plus on my books because the amount of time it saves dropping in and out of the salon and the best part about it is the price. For a little over $20, you will have your roots colored in the comfort of your own home. 

Tuesday, August 30, 2011

Do It Yourself - Towel Birthday Cake

Today's a special day, it's my father's birthday. Unfortunately, because everyone is so grown up and busy with their lives, only two-thirds of the family is here to celebrate with him. Being that no one but me who's currently in this house that likes to eat sweets, I decided to put a twist on his birthday cake. This is the most grandest and elegant cake that has ever stepped foot in this house (not counting restaurant parties of course). Alongside with the cupcakes that my brother bought, I made my father a towel cake. 

The DIY-green-recyclable-not-so-messy cake is simple. I was actually inspired by the cruises that I have went on in previous years where I always get a towel surprise after it has been cleaned (I was super excited about them). I thought it would be fun to coordinate with a few colors for this cake and so I went with my favorite color, white, and a sky blue. It took me a few rolls and a few different towels to find the right size for my towel cake, but i basically folded the towel the long way, half and half again and tightly rolled to the end. I used a bobby pin to secure the end, but you can use anything that you want. Being that I was pressed for time because I was so busy working, my only design was a blue ribbon and a homemade blue candle. Be creative!

Have any other ideas for a birthday cake made with things around the house, let me know!

Wednesday, August 10, 2011

DIY - Food Goods

Recall my blog about watermelon rind for your face? Well, the skin of many fruits is good for you. Lemon and oranges are used for foods as a zest, but my favorite with lemon and orange skin is dried with a bit of sugar and salt.

You can practically save the skin of every fruit and use it somehow because it has a variety of uses. Talk about recycling and getting your money’s worth! Simply wash the outer layer of your fruit before peeling and lay the inside (where the meat is) on your skin.

Mango and papaya skin are great for a rub down on your feet for the summer. Apricot and peach peels are best for dry skin, apple and Asian pear peel is good for oily skin. Grape peels are good for normal skin and cucumber is good for any type of skin. 

Thursday, August 4, 2011

Food Goods - Watermelon

a beautifully carved watermelon 
Being that I have not been getting sleep lately, my look has been dreadful. I feel tightness in my face from the amount of stress I have endured these past two weeks. Aside from the tightness in my face, I lack moisture because I haven’t been eating well or taking care of my skin the same way. Therefore, the pollution in the air and damaging sun has fully absorbed into my skin. Thankfully, I found a quick solution that was in the fridge—watermelon.

Watermelon is full of vitamin C, vitamin A, vitamin B6, vitamin B1, potassium, and magnesium. Watermelon is also an antioxidant which is great for beauty purposes to fight wrinkles, fine lines, and aging. It is a great thirst quencher for a hot summer day or when you just don’t want to eat, like I haven’t lately. Watermelon boosts the body with energy with high water content so you can skip out on a few things.

When purchasing my watermelon, the important thing is to find a sweet, juicy red filling. You can look at the ends of the watermelon to distinguish whether or not this watermelon is good—the smaller the circle, the more red the filling. The most important way to find a juicy watermelon is to pick up the watermelon and tap it. If you hear or feel and echo of vibrations, that means the watermelon is full of juice. The best thing of course is to buy a watermelon slice where you can see the inside of the watermelon, the redder the better.

My variety use of a watermelon:
  • Watermelon rind – Using the tasteless part of the watermelon, rub all over a clean face and neck for five minutes or so, leave on for 10-15 minutes. I suggest cutting your watermelon out of the rind and not using left over bitten up rind because it will be a lot smoother and easier to glide along the face. Doing this made my skin automatically smoother and cleaner. It also helped to brighten up my skin and provide color to my skin again. I did not look as dead as I did earlier in the day. All you really need is one rind, just have a pairing knife by you when you are rubbing all that goody into your face. Take off a thin layer when it starts to get dry and if you want to maximize your use, use the other side of the layer that you just sliced off because there's still a lot of juice there. You can use one rind (depending on size) two times rather just one so don't waste it!
  • Watermelon and salt – It may sound weird, but salt goes well with a lot of fruits. Because many fruits are high in sugar, you should not dip fruits with sugar and replace it with salt. This generally helps those who have allergies to pesticides on fruits as I have written in my blog before. Just be sure to not use too much salt and overpower the fruit.
  • Watermelon smoothie – Nothing beats having a refreshing blend of watermelon juice that is full of vitamins for the body. Blend it with ice and any other fruits of your liking instead of grabbing an ice cream for a healthy option.
  • Watermelon puree – You can simply drink this watermelon puree, but I also recommend using it as a mask. If you have the compressed masks at home (like those that I picked up from a Japanese store in my last blog), you can just let the watermelon puree soak into the mask and leave it on your face and neck as a refreshing mask. It has the same uses as the rind, but better since you are using the part with the most vitamins.
  • Watermelon scrub – All it takes is a cup or two of blended watermelon and lemon juice stored in a fridge for a week prior to use. This scrub will exfoliate and relieve your tired skin, adding color and cleanse to your natural color.
  • Watermelon Soju – I think this is the best way to have a watermelon for many people. Although I don’t drink, I love the thought of incorporating soju and maybe a little sprite for fizz (and to lighten the alcohol) for a healthier drink. I admit, I like making things for others to enjoy because I enjoy making others happy :]
There are so many ways to incorporate watermelon into everything you do, try mixing up your watermelon with other fruits for a fruit salad. Look into other way to incorporate your watermelon into your beauty. You can add equal amounts of cucumber juice for a refreshing mask or close your open pores with a frozen ice tray of watermelon juice and crushed mint leaves. Remember, be creative!

Sunday, July 24, 2011

Bye Bye Panda Eyes

I'm a big fan of pandas, but not the panda eyes. As the years go by, our dark circles are only going to get worse and worse if we do not treat it now. I didn't know how swollen and my panda eyes were until I did a video last week. Now, time to get rid of it! Here's a trick in the old book to lighten your dark circles: a cold spoon. You can pop two spoons into the freezer and hold the back of the spoon against your eyes where it is puffy or you have dark circles. The only problem with this is that it'll get warm quicker, especially in this hot water.

I suggest throwing a little towel which can be: a small kitchen towel, a face towel, whatever you have handy. Fold up the towel to a smaller size, enough to cover your eye bags. Depending on the towel size, you may cut it if needed or just try it out first to see if it's comfortable holding up the towel before cutting. Wet about ½-¾ of the towel (leaving one end unfrozen so your fingers wont freeze while holding it against your eye later). Zip up the bag and pop in the freezer. After frozen, press it against your eyes for 5-10 minutes. I suggest using it twice a day for quicker results.

If you're feeling a bit lazy and you wanna just plop there, you can also use the round eye make up remover wipes. Just wash of the solution, soak them in water, and freeze in a zip lock bag. You can reuse these little things as much as you want. If you don't have access to that, you can even cut out your own circles from a paper towel. Pile up a few circles before wetting. Freeze your circles and flip when placing it on your eyes to get the full absorbency.

There's also a cucumber trick that you can pop on both eyes twice a day for 15-20 minutes to relieve stress and cool down the eyes. This will help the swelling under your eyes. You can also slice your cucumber through a grater and squeeze out all the juice from the grated cucumber. Dab juice with a cotton ball and apply to the eyes to reduce dark circles. I also suggest freezing the cucumber juice to provide your eyes with more soothing during this hot weather. It'll also be a blast of coolness to your body.

Cold tea bags are also a great trick in the book to reduce swelling and cure dark circles. After you've extracted all the flavor for your tea, pop it into the fridge before placing over your eyes. Lay the tea bag over your eyes for 10 minutes but be careful to not get the tea in your eyes. Try sticking to green, black, and white tea only. 

If you're a chef or you like to cook and you have some mint laying around, crush the mint leaves and apply to your dark circles for twenty minutes. If you've got some leftover lemons and tomatoes, mix the juices of both and apply to your dark circles twice a day. 

The best thing to prevent dark circles and swelling to the eyes of course is to get your 8 hours of sleep or whatever your body needs, it differs person to person. By being well energized, you will decrease the likelihood of looking tired. The cliche drink 8 cups of water a day will help to lighten the dark circle under the eyes and it is beneficial to the rest of your body as well. You can also take Vitamin C and Iron to help reduce dark circles. Lastly, and the most fashionable is to wear sunglasses to protect your eyes from the sun.

Sunday, July 17, 2011

DIY - Buy Spray

It's that season where everyone wants to stay out as late as possible and so does the bugs. I don't know about you, but I am surely terrified of bugs. I get a big swollen bump when I am bit by a misquito, especially random bugs that I never know bite me until I'm in pain. This is the best time for me to go out and have fun, yet the worse time when sun-down comes. I am the one to fight with all my friends and hover over a lit candle that is supposed to keep the mosquitoes away. Unfortunately, that does not always happen because I still get bit! Sometimes I'll have to double up with a candle and bug spray, but I hate the sticky feeling of it and the fumes that I inhale when I'm spraying myself.

A DIY that feels a little more refreshing than bug spray and hovering over a candle like a statue: homemade bug spray. All you need is the orange Listerine that's probably hanging around your bathroom and water. Ah it feels refreshing, but be careful if you have a cut, it will burn! Then again, so does everything else you put on a cut. Simply shake it up in a spray bottle and mist away!

Another DIY misquito repellent that will help keep them away, yet attracting all the boys: lavender. Yes, the flower. All you have to do is rub a lavender behind your ears, your wrists, your neck, and anywhere else you really want to. Be careful to have too much of a lavender aroma, especially if someone is allergic! 

Hope this will help you have a fun and bug free summer!

DIY - Bug Bite Medication

I’m always getting bit up in the summer. For some odd reason, this summer was not only mosquito bites, but bug bites as well. To distinguish between the two, mosquito bites are generally itchy as soon as you are bit whereas bug bites are painful. Bug bites are usually swollen and hard as a rock with or without the scratching. Mosquito bites are the same feeling only when you have been scratching for way too long or it’s in the last stage of its healing process. Regardless of it being a mosquito or bug bite, understand the problem and find a solution.

There are a few tricks when dealing with bug bites and mosquito bites. 
  • Number one rule is do not touch. Although you may not be scratching your bites, it is still a bad idea to run your hands through or around the bites. Your hands are full of germs and I don’t know about you, but when my hands touch the bites, I have this urge to scratch right away. That and I become much itchier because I am aware of my bite. Sometimes it’s a mental thing; when you don’t think about the bite, it doesn’t bother you, but when you are attentive to it, it becomes the most annoying thing ever!
  • Whenever you get a mosquito bite, my aunt’s suggestion: use saliva. You have no idea how many times I have used saliva on my mosquito bite and it has went away. Maybe it’s a mental thing because I don’t know how well saliva works, but it just does!
  • If you’re feeling very itchy and you can’t help but to touch, grab an ice and rub it all over the bite for temporary relief.
  • A safe and chemical free (or as natural as can be) solution to itching is to wash your bite out with soap and rinse with water. The soap can help clean off germs that surround your bite. Rinse with cool water to decrease the itching and soothe the bite. You can wash your bite as much as you want since it is just like washing your hands.
  • A home remedy for mosquito bites is using lime juice. Separate the pulp from the juice with a strainer. Add water and apply with a cotton ball. Store it in the fridge as a method to cool down your itching. If you’re feeling lazy, just slice a lime and apply. You can even use lemon juice or just apply a slice of lemon directly on the bite.
  • For bug bites, mix water with cornstarch until it has become a thick paste. Simply apply to the bug bite to remove poison of the insect bite. This is also great for diaper rashes. You can even use baking soda if there’s not cornstarch lying around.
  • A few other home goods that you can rub directly on your bite are deodorant, bleach, aloe, toothpaste, and apple cider.


Hopefully this will help you through this summer. Don’t hide from the bugs, enjoy the summer because it will end soon!

Wednesday, July 13, 2011

DIY - Bow (Various Styles)

How To Make a Bow


There's been a lot of hype lately with bows so of course I decided to make a few of my own. This not only saves you a heck of a lot of money by using scraps of fabric, but it can be used to deck out your outfit. The simplest can be a hair clip to a variety of different styles like a bow tie, a new shoe design, and more!

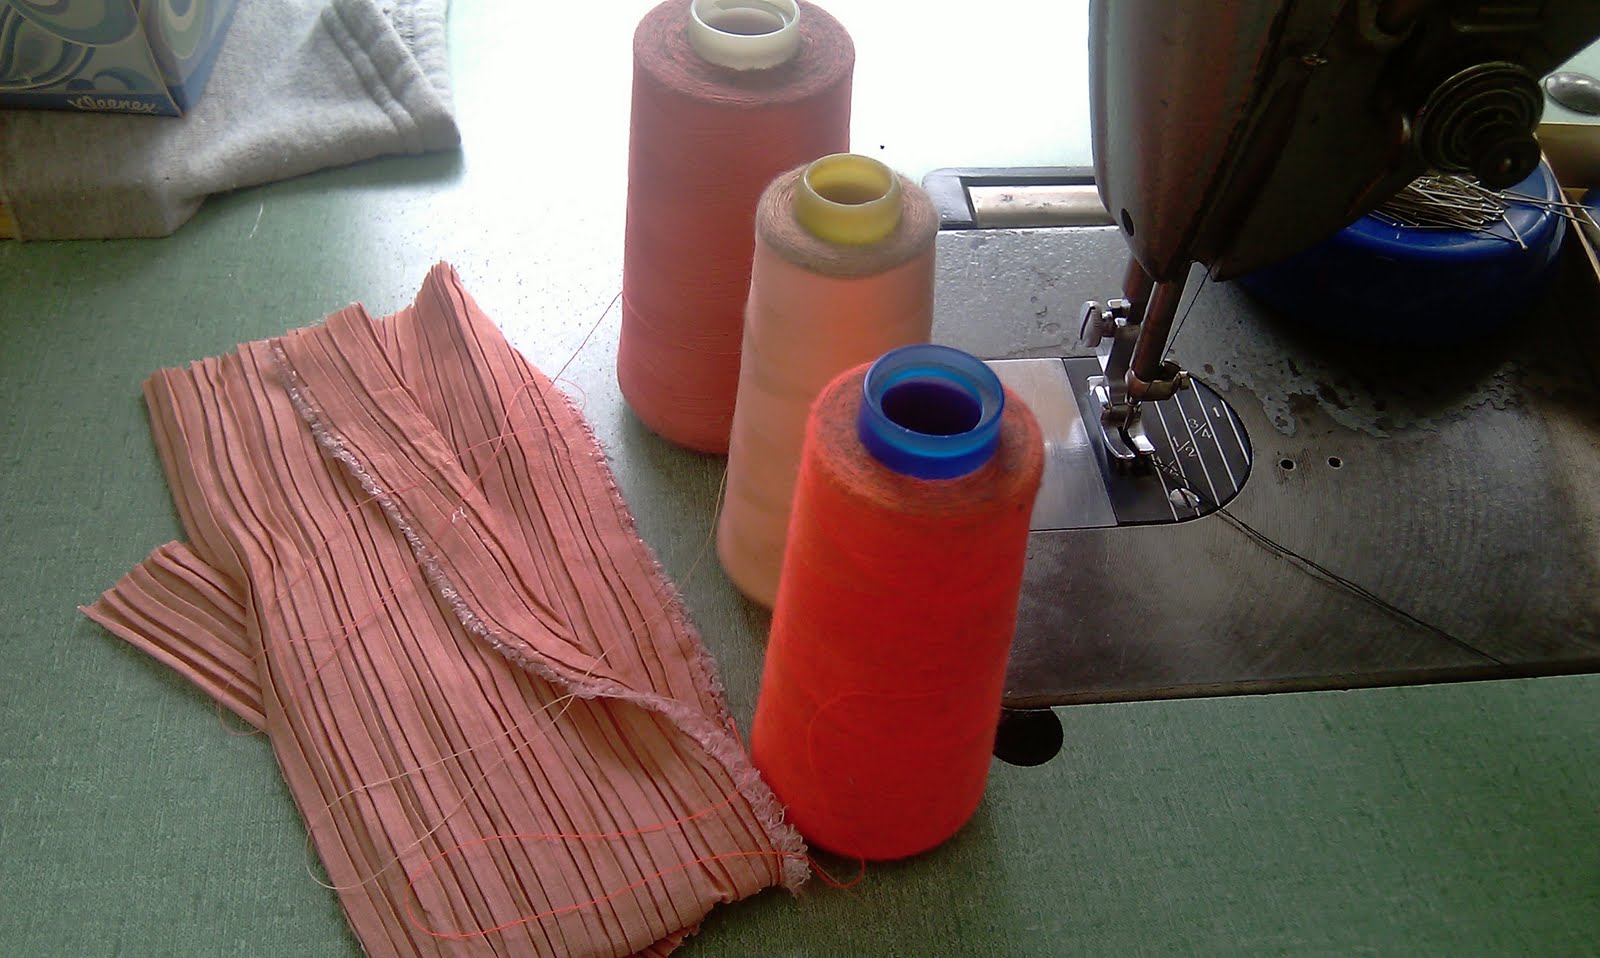
I use a sewing machine here but you are more than welcomed to hand stitch this bow of course it'll take a little more time and may not hold up as well (depending on your sewing skills). When picking out your fabrics, be sure they fold into each other evenly when cutting and add an extra ¼ inch of room for the edges to bind. You will also need another piece for the center of the bow as shown in the picture. Don't worry bout the edges being prefect because you will hide these imperfections when sewing, just like I did.


  1. After cutting out your pieces of fabric, you should match your thread as close as possible to your fabric's color. If you are bold and you can sew straight lines then you can mix and match colors which will bring a new contrast of color to your bows.
  2. Hold the bow together as a finished product inside out (where the inside of the finished product is on the front and back of the current bow) and sew the right side of the bow.
  3. Flip the bow and sew the next edge (can be top or bottom of the bow).
  4. Flip it on the side again and sew the other edge.
  5. For the last side (whether top or bottom), start sewing ½ inch from the center, which totals one inch opening that is big enough for you to put your fingers in and flip the bow inside out.  Half inch from the center will total one inch at exactly the center of the bow. You will either stitch this opening later or use another piece to make the bow and cover it.
  6. Cut off all threads hanging on the edges before it gets in your way.
  7. In regards to pulling the sides through the center of the bow, there is a YouTube video below to show you how to do it. It is rather difficult to explain, but the process is as follows: Take your pointer finger to go through the hole and push the edge of one corner. Use the thumb of your other hand to fold down the flap, followed by your other pointer finger to fold down the flap while you use your thumb to hold it in place and pull through the hole. Repeat for all four corners.
  8. If your corners are not sharp enough, use a needle and thread to pull through the corners. Make sure the end is not knotted so the thread will go through and pull the fabric out.
  9. To make the center of the bow, it is best if you have one piece of fabric and fold it in half the long way. This saves sewing a whole side.
  10.  Like the bow, sew the center strip inside out on the long side(s).
  11. You can across the top of the strip which makes turning the fabric inside out easier by simply sticking a chopstick or a long stick through and pulling the rest of the fabric out.
  12. When finished, center your strip with the bow and pull your strip tight. This will form your bow. If you did not sew the opening of your bow, try and cover it up as much as you can.
  13. When your bow seems about perfect, hold the strip down and sew down the ends as close to the bow’s edge as possible.
  14.  Cut off the excess fabric on the center strip.
  15. Flip your strip inside out and fix your bow if needed.
Style it up however you like, my bows as hair clips :]


Thursday, July 7, 2011

DIY - Makeup Remover

Let's admit it, make up removers can be pricey either that or not natural. Let's take it back to household items that can do the job. Many households have converted to using Extra Virgin Olive Oil for a healthier diet. EVOO, as Rachel Ray would say, is the perfect makeup remover. Don't worry about it clogging your pores because of it's thick texture. EVOO is soft to the skin and definitely handy for makeup removing purposes. 

For those who are conscious of their diet and love yogurt, plain yogurt can be found laying around a fridge. Dab with a cotton pad and wipe away, simple as that.

The most commonly used item Vaseline or simply petroleum jelly is practically in every household, being that it has a variety of functions for all ages. I have to admit, rubbing Vaseline all over your eyes leaving a sticky texture is not so great. With the summer season calling for tanning which can lead to sun burns, you probably have stashed a bottle of Aloe Vera in the bathroom cabinet. For those of you who dislike the feeling of 100% Vaseline, mix in Aloe Vera at a ration of one to one and wipe away!

In correlation to babies' smooth skin, many still use baby oil. Just like EVOO, baby oil works the same way so take your pick (or whatever is left in the house). 

For those of you who have babies or are accustomed to the use of baby wipes, baby wipes serve another function since you can use it as a makeup remover as well. It also saves the trouble of having to find a cotton pad, just be sure that the baby wipes you use are unscented to prevent any reactions or breakouts.

Definitely stay posted for my next blog on EVOO's extra beauty benefits.