There's been a lot of hype lately with bows so of course I decided to make a few of my own. This not only saves you a heck of a lot of money by using scraps of fabric, but it can be used to deck out your outfit. The simplest can be a hair clip to a variety of different styles like a bow tie, a new shoe design, and more!
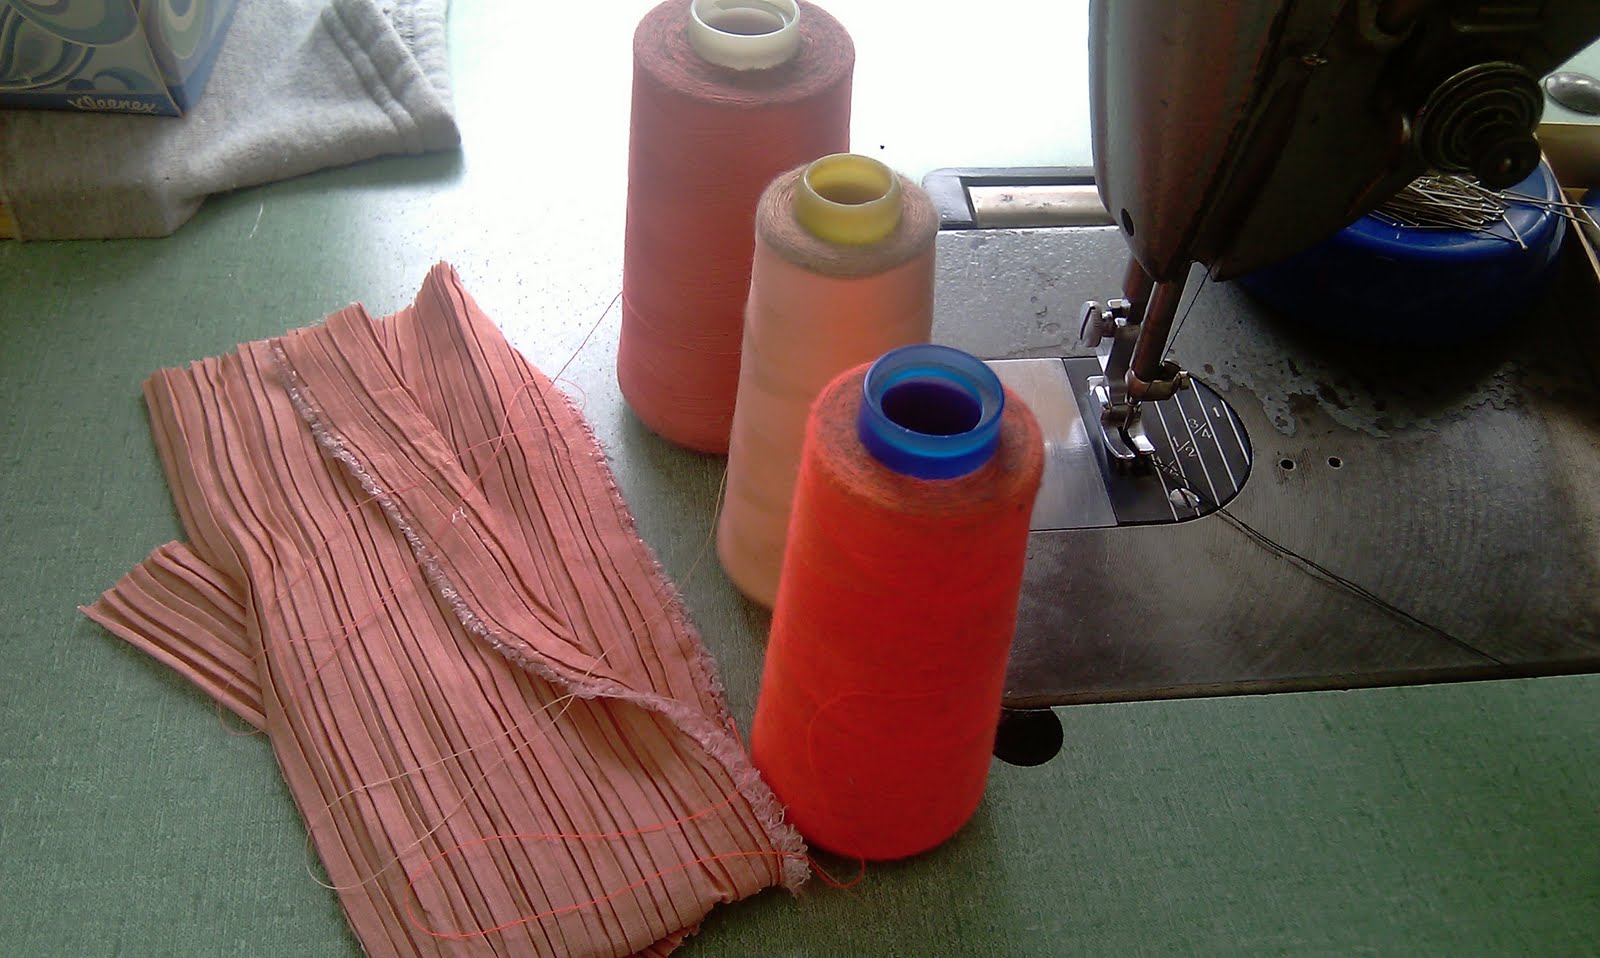
I use a sewing machine here but you are more than welcomed to hand stitch this bow of course it'll take a little more time and may not hold up as well (depending on your sewing skills). When picking out your fabrics, be sure they fold into each other evenly when cutting and add an extra ¼ inch of room for the edges to bind. You will also need another piece for the center of the bow as shown in the picture. Don't worry bout the edges being prefect because you will hide these imperfections when sewing, just like I did.


- After cutting out your pieces of fabric, you should match your thread as close as possible to your fabric's color. If you are bold and you can sew straight lines then you can mix and match colors which will bring a new contrast of color to your bows.
- Hold the bow together as a finished product inside out (where the inside of the finished product is on the front and back of the current bow) and sew the right side of the bow.
- Flip the bow and sew the next edge (can be top or bottom of the bow).
- Flip it on the side again and sew the other edge.
- For the last side (whether top or bottom), start sewing ½ inch from the center, which totals one inch opening that is big enough for you to put your fingers in and flip the bow inside out. Half inch from the center will total one inch at exactly the center of the bow. You will either stitch this opening later or use another piece to make the bow and cover it.
- Cut off all threads hanging on the edges before it gets in your way.
- In regards to pulling the sides through the center of the bow, there is a YouTube video below to show you how to do it. It is rather difficult to explain, but the process is as follows: Take your pointer finger to go through the hole and push the edge of one corner. Use the thumb of your other hand to fold down the flap, followed by your other pointer finger to fold down the flap while you use your thumb to hold it in place and pull through the hole. Repeat for all four corners.
- If your corners are not sharp enough, use a needle and thread to pull through the corners. Make sure the end is not knotted so the thread will go through and pull the fabric out.
- To make the center of the bow, it is best if you have one piece of fabric and fold it in half the long way. This saves sewing a whole side.
- Like the bow, sew the center strip inside out on the long side(s).
- You can across the top of the strip which makes turning the fabric inside out easier by simply sticking a chopstick or a long stick through and pulling the rest of the fabric out.
- When finished, center your strip with the bow and pull your strip tight. This will form your bow. If you did not sew the opening of your bow, try and cover it up as much as you can.
- When your bow seems about perfect, hold the strip down and sew down the ends as close to the bow’s edge as possible.
- Cut off the excess fabric on the center strip.
- Flip your strip inside out and fix your bow if needed.
Style it up however you like, my bows as hair clips :]


No comments:
Post a Comment